Exercise 2- Panning with different shutter speeds
Aims: Take 10-12 photo's of a scene with movement
Take the pictures at different shutter speeds from fast to slow while following the moving subject with the camera
Compare the results and explain which one I prefer and why
Before starting this exercise, I read an article online so I could gain more understanding of the technique required: http://digital-photography-school.com/mastering-panning-to-photograph-moving-subjects
I still used a tripod for this exercise but loosened the head so I could easily track the subject.
Note: I have blurred the cars numberplate's for privacy reasons.
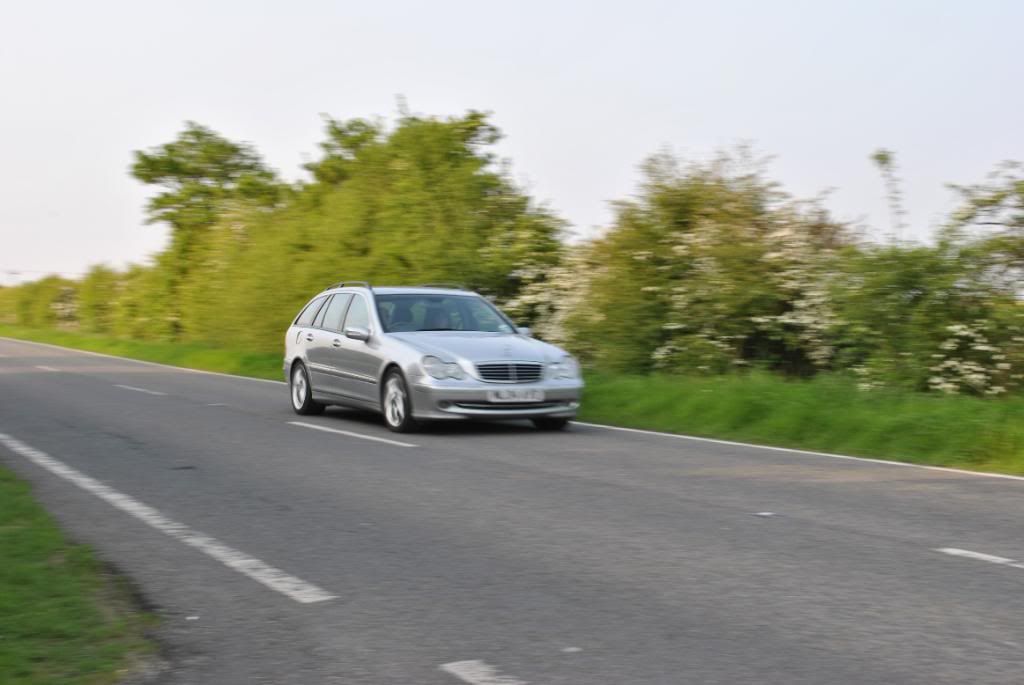
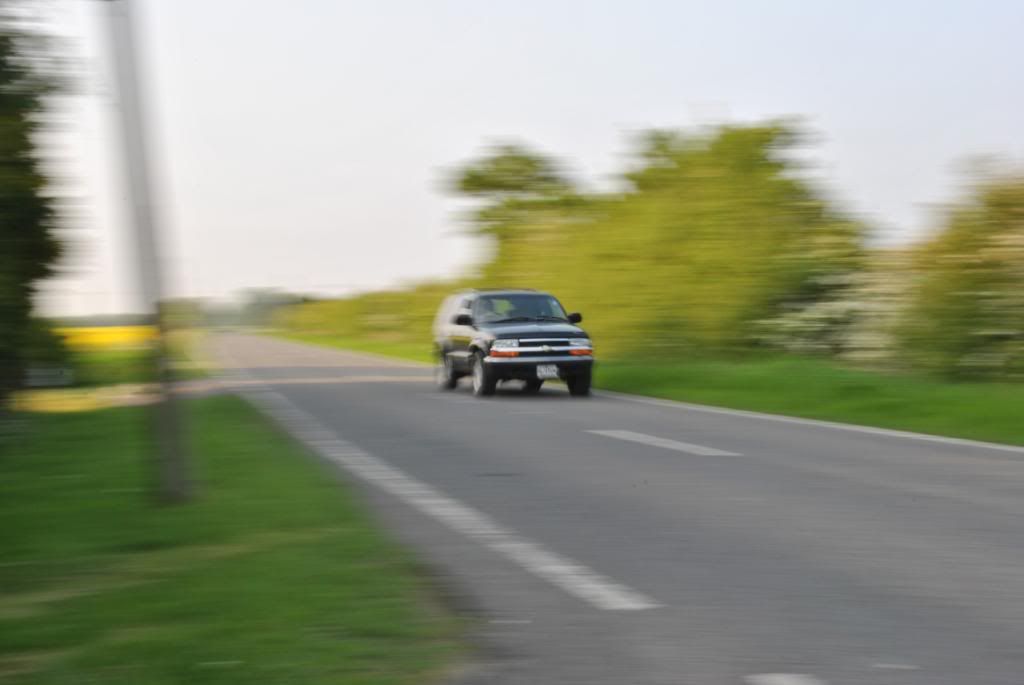
1.
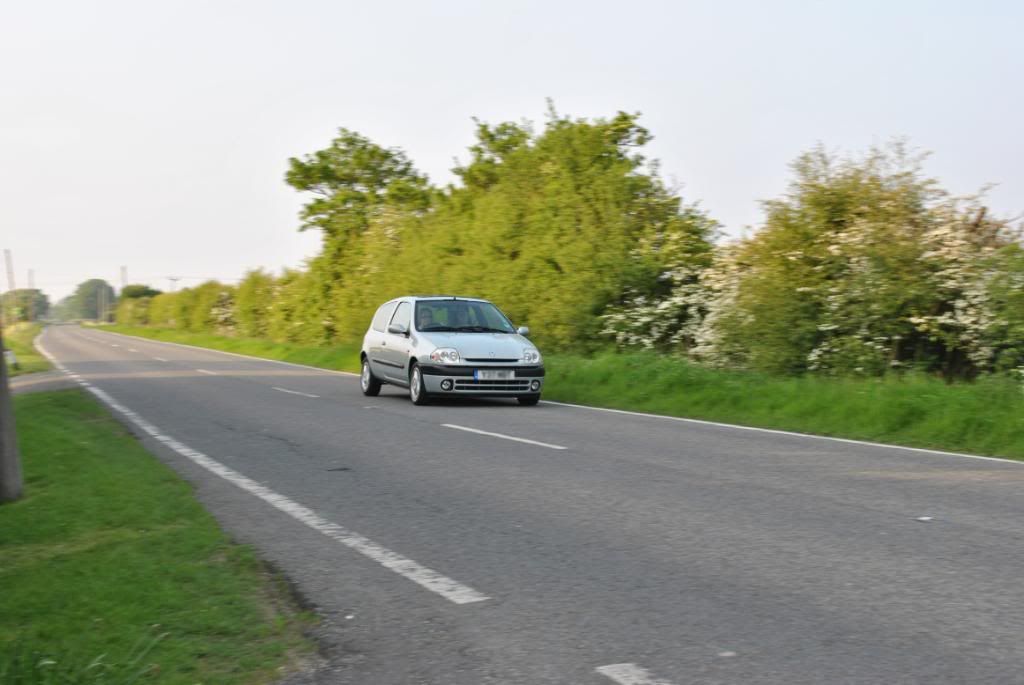
1/100 f8 ISO 100
I chose this as the first photo in the series as the higher shutter speeds were completely sharp and showed no sign of movement. This is the first where there is some blurring in the background, though it still doesn't suggest much, or fast, movement.
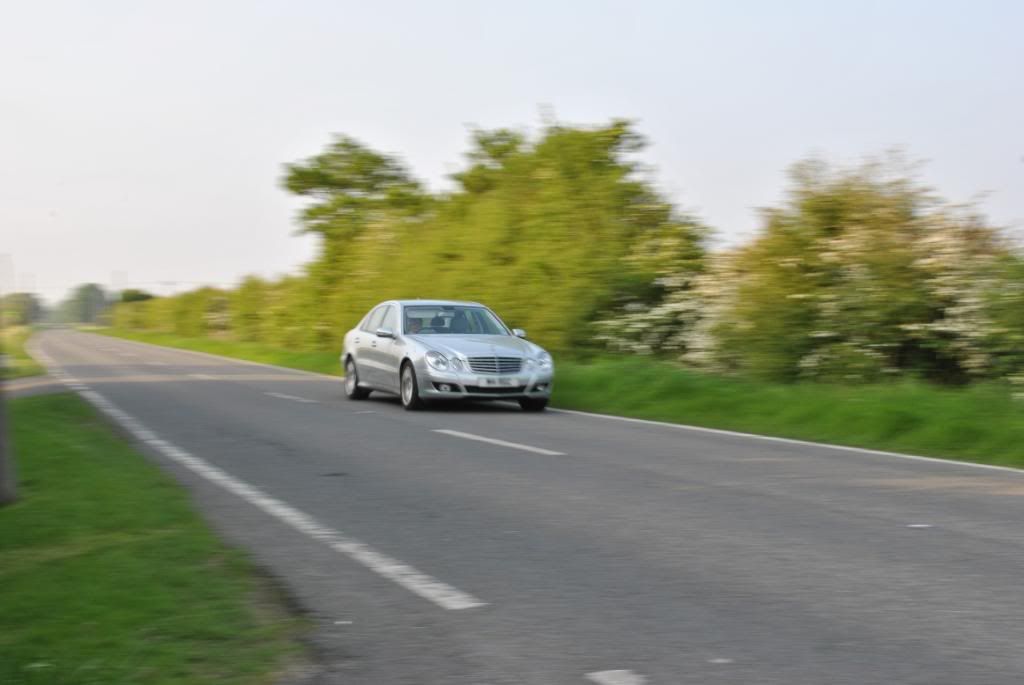
2.
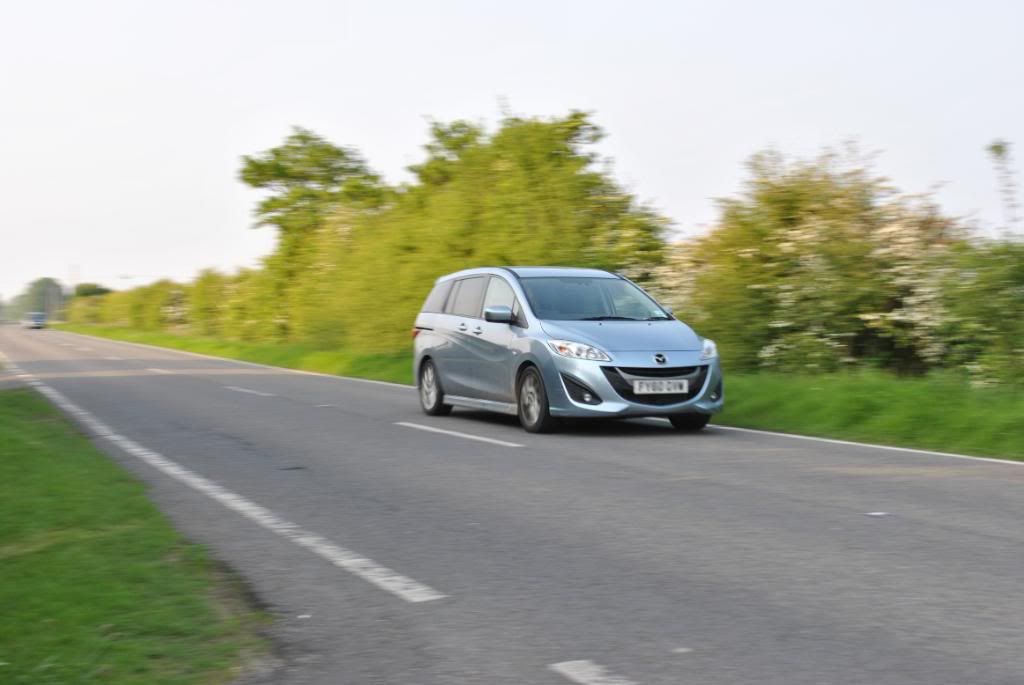
1/80 f9 ISO 100
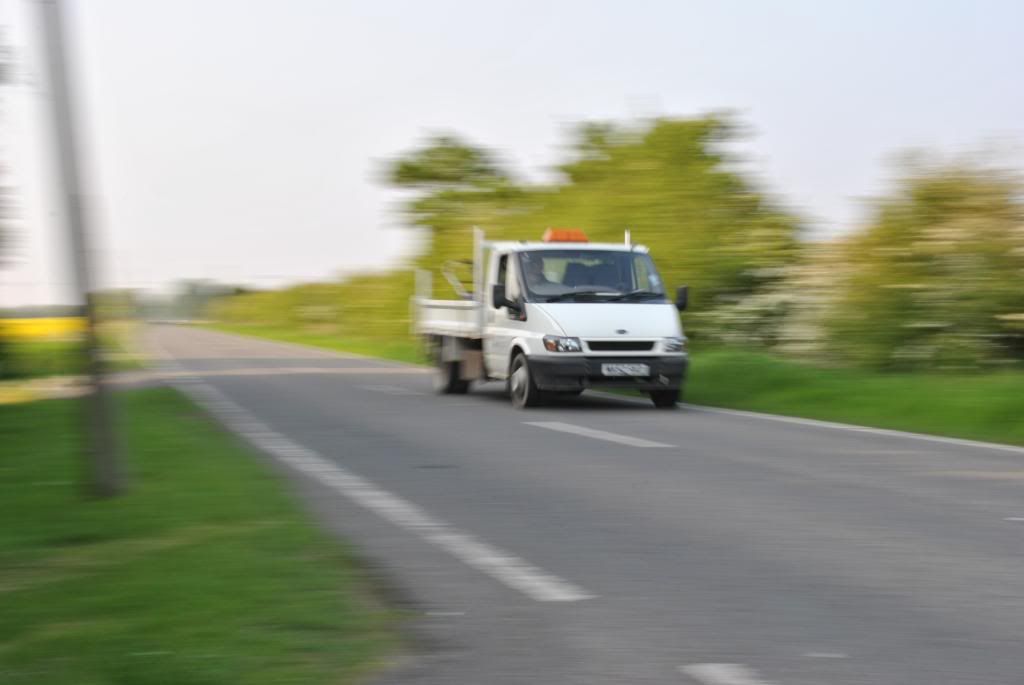
3.
1/60 f10 ISO 100
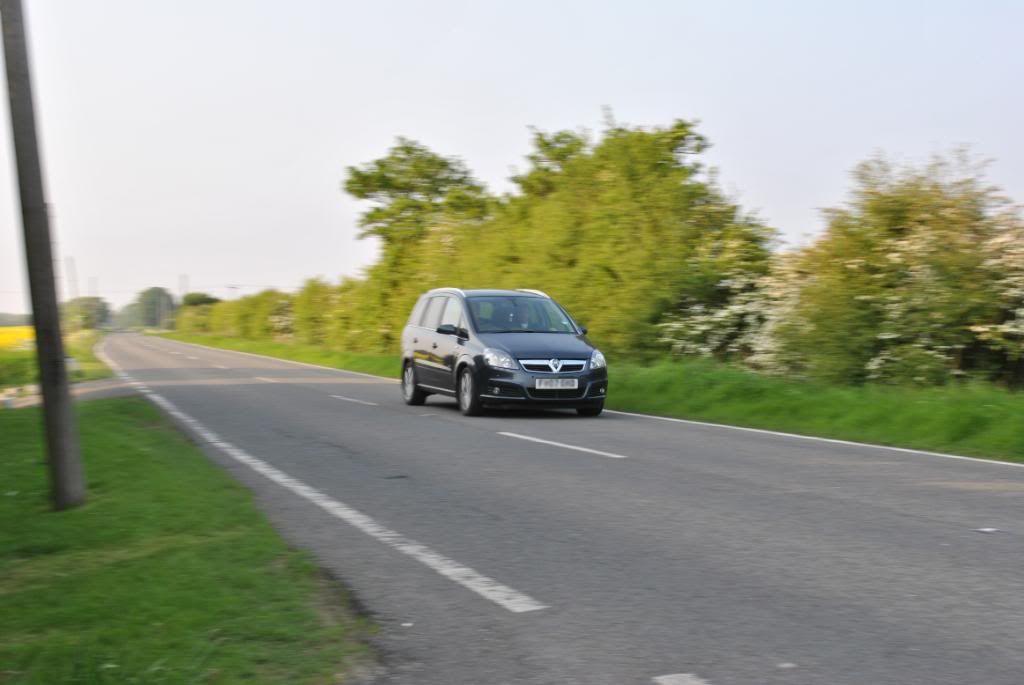
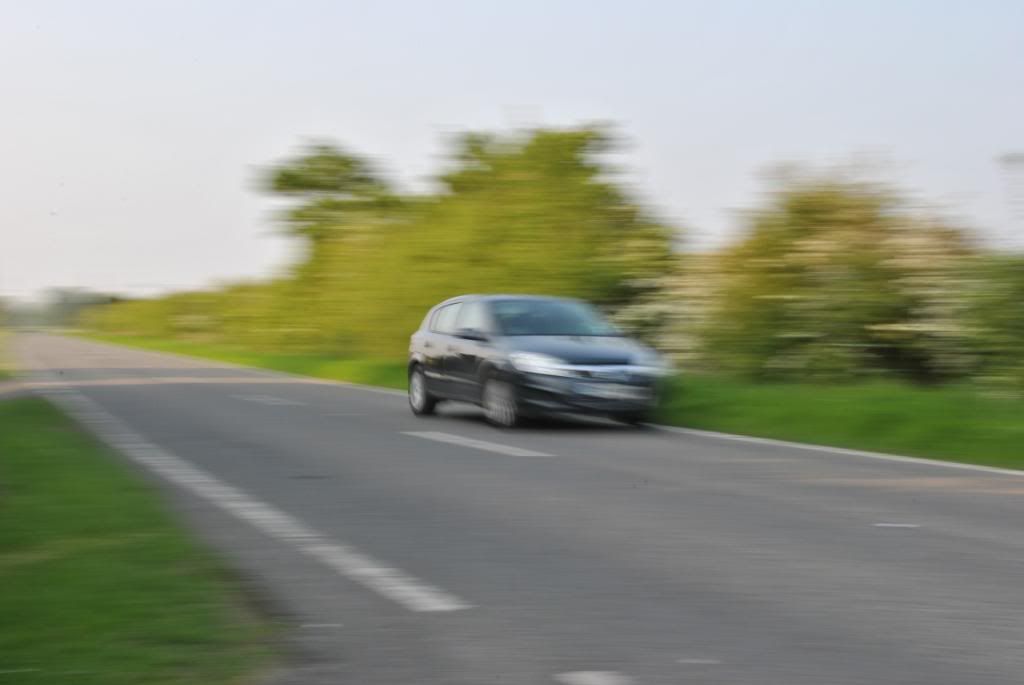
4.
1/50 f13 ISO 100
5.
1/40 f14 ISO 100
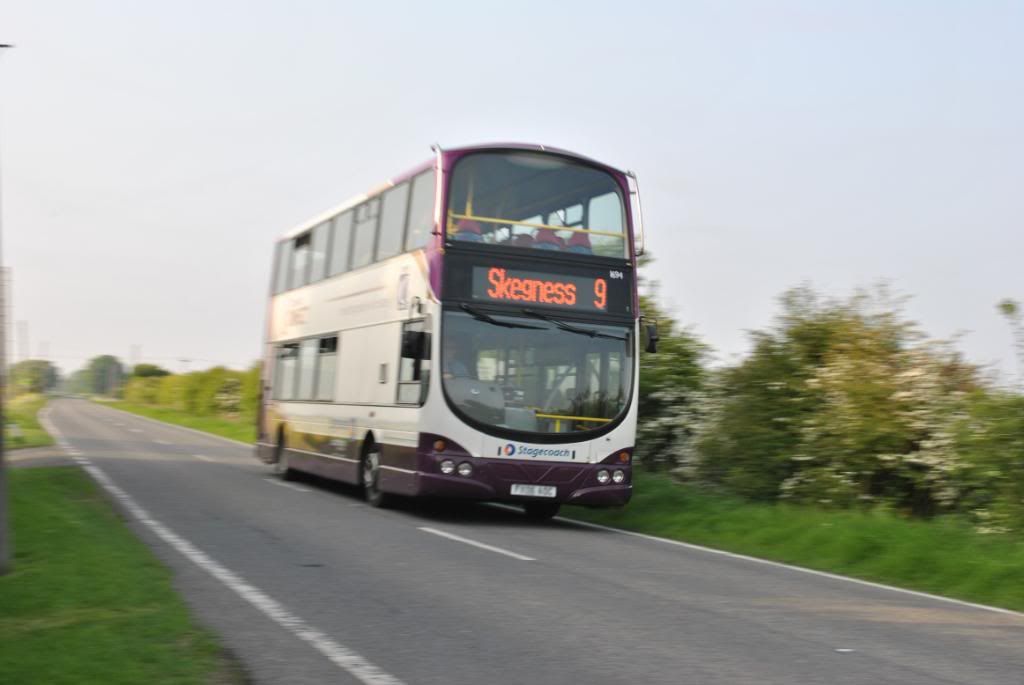
6.

1/30 f14 ISO 100
7.
1/25 f16 ISO 100
8.
1/20 f18 ISO 100
9.
1/13 f25 ISO 100
10.
1/8 f29 ISO 100

This image (6.) is my favourite of the series
No comments:
Post a Comment